
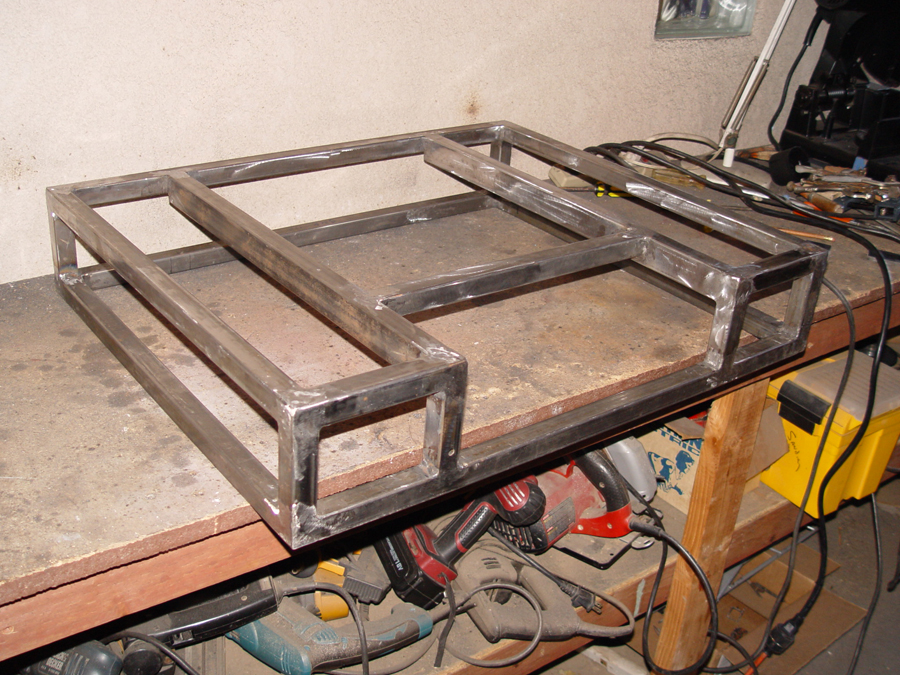
Now that the position and height of the controllers and heat sinks have been established, a rear deck lid/battery box cover can be constructed using 1x1x.065 square tubing. (Photo 1) Note that there is an indentation in the front portion of the deck lid. This space is needed so that the seat back will be able to recline into the deck lid.

The deck lid is then test fit on the battery box. Note that the controllers are still bolted in place to insure there is proper clearance with the deck lid. Also note the indentation in the front of the lid where the seat back will recline. (Photo 2)

And a view of the deck lid from the rear being checked for proper fit. (Photo 3)
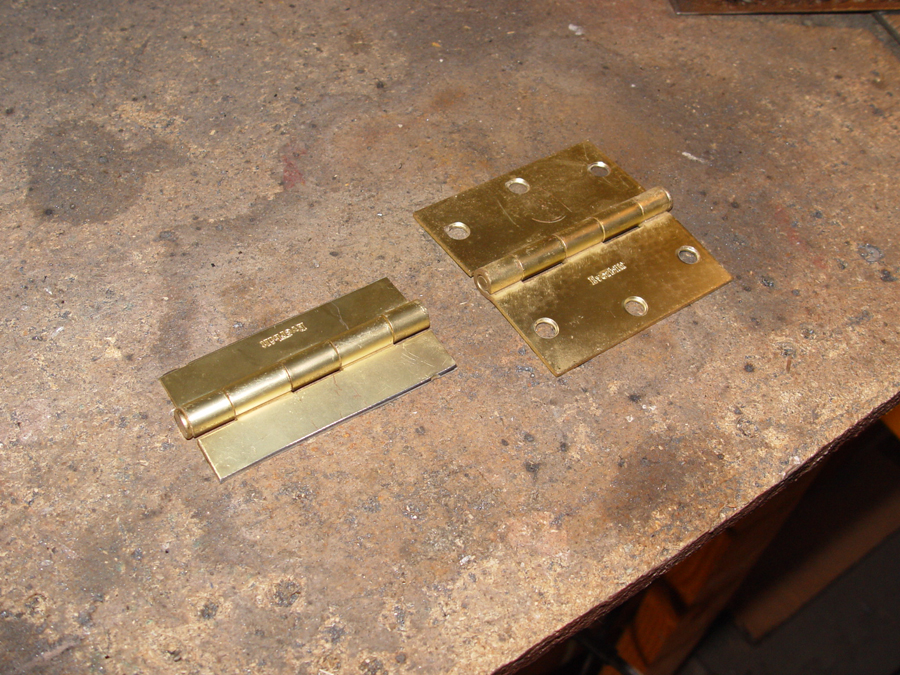
The lid is hinged using common steel door hinges. However, the hinges must be cut down and then re-drilled so that the mounting bolt holes will line up properly with the 1×1 tubing of the battery box and deck lid. An original hinge is shown on the right and the cut down version on the left. (Photo 4)
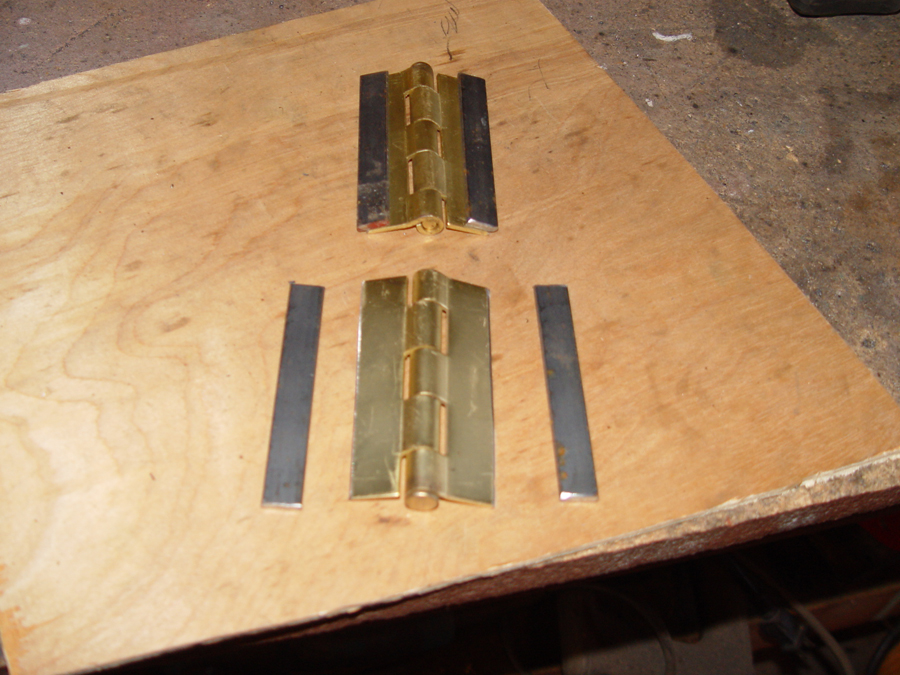
To mount the hinges flat on the surface of the battery box and have them operate properly, spacers are cut from ½ x 1/16″ flat stock and welded to the back side of the steel hinge. (Photo 5)


Bolt holes are drilled through the hinges and tubing and the hinges are secured to the battery box and deck lid. (See arrows in Photo 6). With the hinges in place the rear deck lid can be swung to the open position. (Photo 7)

